Browsing Category

Beauty

Beauty

Styled Photoshoot: Flowery Daydream

March 20, 2020

Hey gals, I hope you’ve had a happy and safe week quarantining yourselves! It certainly has been a crazy one. A few weeks ago, I had the opportunity to be a part of a GORGEOUS styled photoshoot. If you’re not familiar with styled shoots, they’re photoshoots that are put together as a passion project or a creative outlet for everyone involved. For this shoot, our team was made up of a photographer, florist, hair stylist, a makeup artist + me! Keep scrolling to see how the photos turned out…

I stayed in the same ivory Anthropologie dress the whole time – isn’t it so beautiful!? – but we did two different hair and makeup looks. For the second look, we even glued butterflies to me and it was the absolute coolest!

It took FIVE HOURS for the florist to set this up and it was totally worth it, it’s so incredible! The vendors for this shoot couldn’t have been more talented. The photographer was @withloveandembers, the florist was @splintsanddaisies, hair was @amandaleighrush from @anthologylancaster, and makeup was @emilylynhurst.

That’s it for today’s post – I hope you enjoyed getting a little sneak peek into my creative world! My next blog post will be back to wedding content as I’ll be sharing allllll the venues we looked into before we booked ours. Stay tuned!

Beauty

My Winter Skin Care Routine

February 12, 2019

Hey hey hey cuties and welcome to this week’s beauty post! Since it’s been so cold this winter, I’ve really had to switch up my skin care routine so I thought I’d share what I’ve been doing to keep my skin happy and healthy this season. Let’s get started!

Starting with my in-shower skin care secrets, I always wash my face twice-over with Dove bar soap to remove all my makeup and to cleanse. I use makeup wipes to remove my eye makeup prior to showering but I leave my face makeup removal for Dove. I also exfoliate my face one to two times a week with my Aveeno Positively Radiant Skin Brightening Daily Scrub. I’ve used this exfoliant for years and it works wonders! You’ll see a lot of the products I use are Aveeno – they’re one of my favorites!

Once I’m out of the shower, I put a small amount of the Aveeno Positively Radiant Targeted Tone Corrector on my cheeks, forehead, and chin and let that sink in for a few minutes. After that, I follow up by applying the Aveeno Positively Radiant Sheer Daily Moisturizer all over my face and neck. This moisturizer is one I’ve been using since high school and it’s the best! It has SPF 30 and it’s light enough that it won’t clog your pores. Next, I apply a pea-sized drop of Neutrogena’s Healthy Skin Eye Cream under each eye and up onto the area just below my eyebrow. This cream helps to decrease puffiness and prevent fine lines in the eye area.

After that, if I have any breakouts, I’ll apply my Mario Badescu Drying Lotion to each spot and I leave it on overnight. I love this stuff! When I wake up in the morning, my spots are considerably smaller and less red. And if any of the lotion remains in the morning, you can just wipe it off with water.

One thing that I’ll do in the winter when my face is especially dry is use the Origins High-Potency Night-A-Mins Renewal Cream. This cream is very thick and very moisturizing. I’d say I use it about one to two times a week and it helps so much with dry, flaky skin! Another thing I do about once or twice a week is a face mask. Lately, my favorite one has been the Formula 10.0.6 Deep Down Detox Ultra-Cleansing Mud Mask. I’ve had this mask for about six months or so and it’s incredible! My skin always feels so soft after I use it and I’ve really noticed a difference in my skin. It’s less than $10 and it smells great, too!

That’s all for my winter skin care routine. One product I’ve been dying to try is the Dr. Jart+ Cicapair Tiger Grass Color Correcting Treatment… have any of you tried it? If so, let me know your thoughts in the comments section. Have a great week!

Beauty

How I Style My Hair

January 22, 2019

Hey hey hey babes, happy Tuesday! Before the holidays, I asked you what posts you would like to see from me in the new year and so many of you asked me to tell you how I style my hair so I thought I’d write about it right away… let’s get started!

My first secret to success is to shower at night. If I try to shower, blow dry, and then style my hair all at once, not only does it take forever but my hair always gets too frizzy and won’t hold a curl. I find it’s best to shower at night, let it air dry, and then style in the morning. After I get out of the shower, I use it’s a 10 Potion 10 Miracle Styling Potion (click here). I put a quarter-sized drop on my palm and then work it through the ends of my hair. I’m careful not to let it touch my scalp because it can make my roots greasy overnight. This product helps to control frizz and hold the curl once I style!

The curling iron I use to style my hair is the Conair Hot Sticks Instant Heat curling iron and it can be picked up at your local drugstore. I actually have two (they’re SO inexpensive) because, depending on the length of my hair, I prefer a different barrel size. I use a 3/4 inch barrel when my hair is shoulder length.

My technique has changed a bit over the years but I’ve found I get the best outcome when I only wrap my hair once around the barrel. This means the curl starts a few inches down from my root and then there’s about two inches left out at the bottom. Leaving those couple inches out of the curl creates a beachy look and gives a bit of a looser feel. I also curl in different directions – forwards and backwards. I don’t necessarily alternate but I make sure to switch up the direction every few curls and I ALWAYS curl the hair around my face backwards. After I’ve finished curling, I spray my roots with some dry shampoo for texture and I run my fingers through all the waves to break them up. This is my favorite part because it really brings the look together!

That’s all for my hair routine – I hope you’ll try it! I really love curling my hair like this – especially with the length that it’s at right now. If you have any styling tips, please leave them in the comments below. I’d love to hear them!

Beauty

My First Experience with Gel Nails

October 10, 2017

Hi beauties and welcome to another one of my weekly blog posts!  This week’s topic is beauty related and I’m talking all about gel nails!  I’ve been getting my nails done for years and years now but I’ve never gotten gel nails so I decided to try it out earlier this week.  Keep reading to hear about my experience!

Originally, I went into the salon to try the dip powder trend that I’ve heard a lot about during the past couple months.  When I spoke to one of the ladies at the salon and told her that was my intention, she looked at my nails and said they were in wonderful condition and that she would rather not do the dip powder.  When I asked her why, she said it actually harms your nails and makes them weak!  I have a friend who gets the dip powder done frequently and she says it makes your nails stronger, so I’m not sure what to think about it but I ended up going with the gel instead – just to be on the safe side.

Since I didn’t know a lot about the process of getting gel nails prior to going into the salon, I wasn’t sure what the experience would be like but it was really nice!  They cut and file your nails just like usual but then they move on to do coats of different things that they wouldn’t do if you were just getting polish put on.  In between the different coats, you put your hands under a light that dries and hardens the gel and it works very quickly.  When we were done, I was expecting to have to go over to where you put your hands under the fan but with gel, you don’t have to do that!  Once you do one or two cycles of putting your nails under the light, you’re good to go!  It’s extremely time efficient and works like a charm!

As you can tell, I’m now a big fan of gel nails.  I’ve had them for over a week and they still look beautiful so maybe this will be my new go-to thing when I get my nails done in the future!  Have you ever gotten gel nails?  Let me know in the comments if you liked it or not.  See you next week!

Beauty

I Chopped + Colored My Hair

August 29, 2017

Hi everyone!  I’m Alli, thanks for visiting my blog today!  I did a post at the very beginning of the year saying I had chopped my hair and guess what… I’ve done it again but this time, I actually did a pretty drastic color change as well!  Keep reading to find out exactly what I asked for from my stylist and how I’m liking it so far!

THE CUT:

Going into my hair appointments, I always have tons of examples pinned to my “Hair Inspiration” board on Pinterest.  Even though my cutting stylist (I go to different people for cut and color) has luckily never given me a bad hair cut, I still get nervous that she’s going to take too much off so going in to the appointment with a few photos for her to look at makes me feel so much less scared.

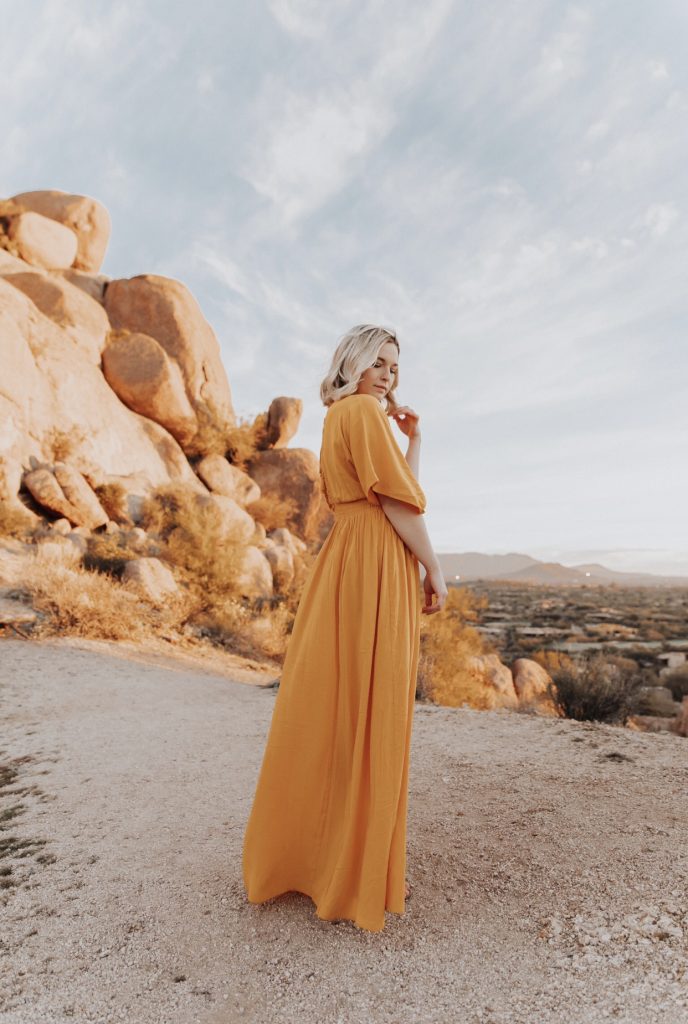
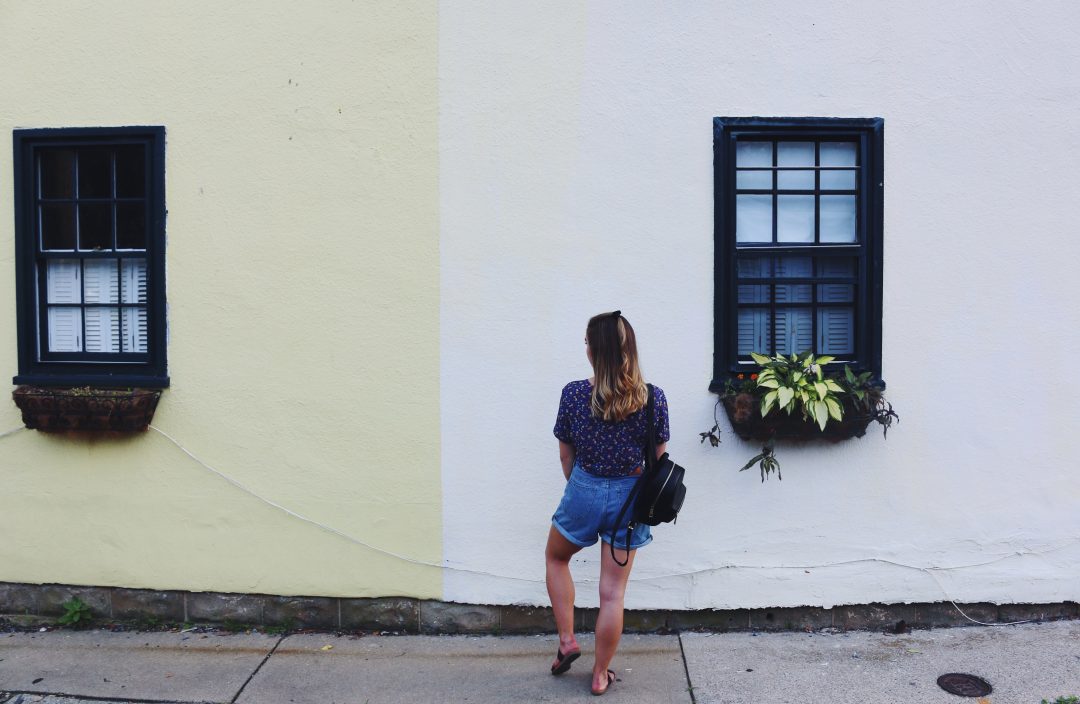
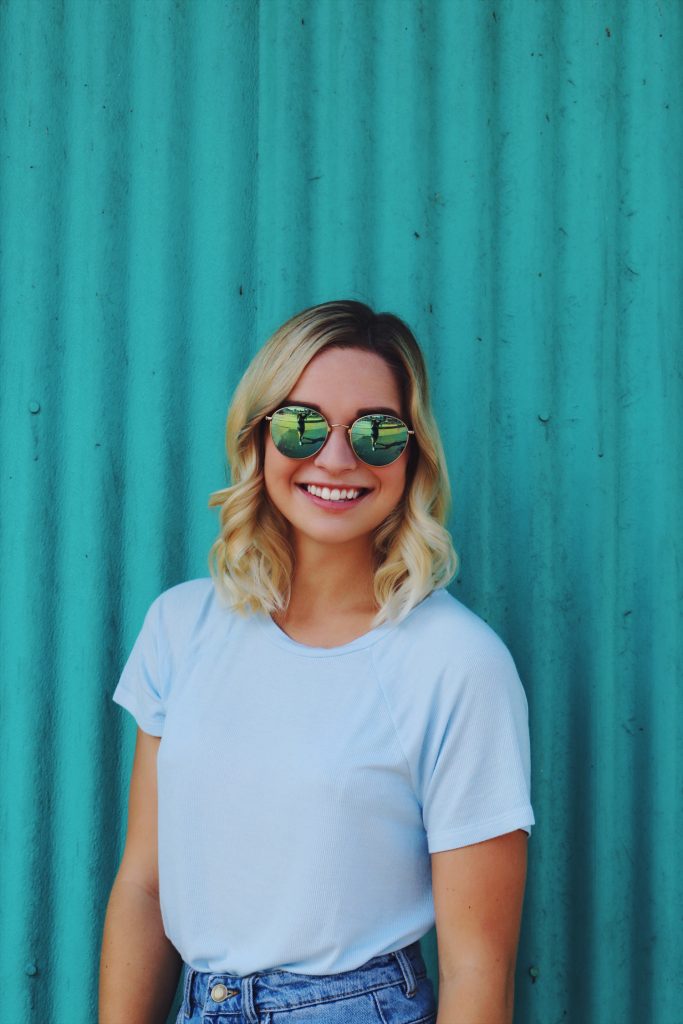
This time around, I mainly showed her photos of women with hair that was about collarbone length.  Over the years, I’ve learned that shoulder length hair and collarbone length hair are not the same and it has made such a difference in how my hair cuts turn out!  When I would ask for shoulder length hair, it would always come out a little shorter than I wanted and that’s when I realized that I was really wanting it to fall just past the shoulder, at my collarbone.  Another thing I asked for was that I wanted it to be that length when it was curled and that makes a big difference in how she cuts it as well.  When you curl your hair, it makes it look a couple inches shorter, so the stylist needs to keep some of your length in order to have it fall at your collarbone when you curl it yourself.

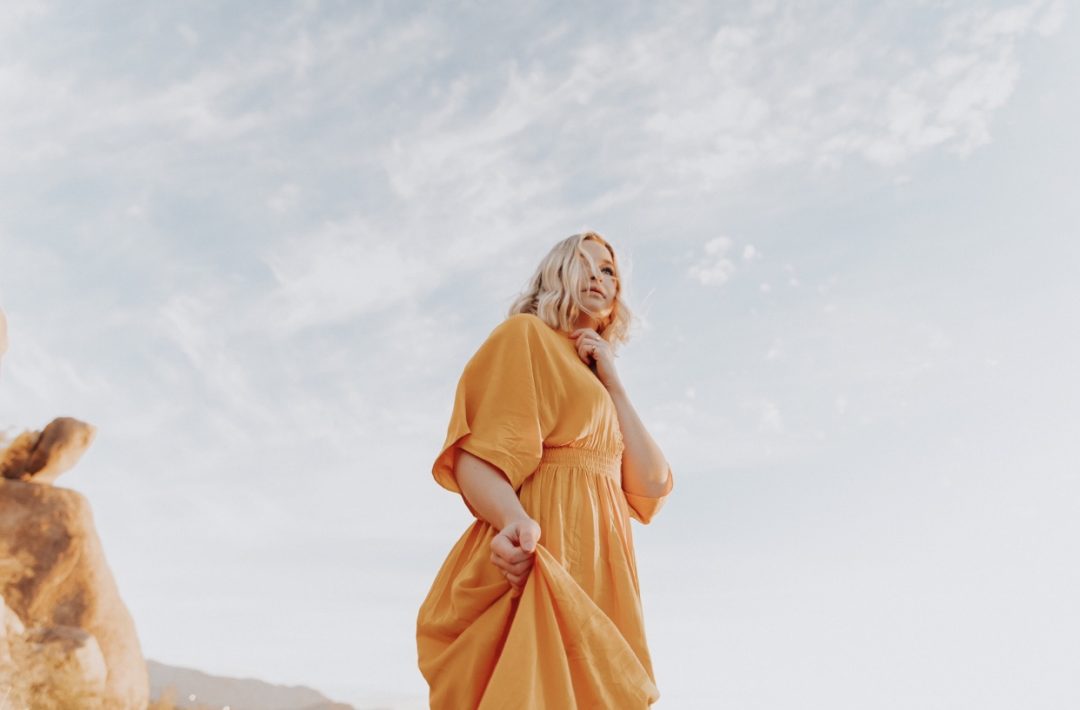
Overall, I really, really love the length and think I’m going to stay on the shorter side for a while.  I thought after I chopped it in the winter that it would be a one time thing and then I’d grow it out again but here I am!

THE COLOR:

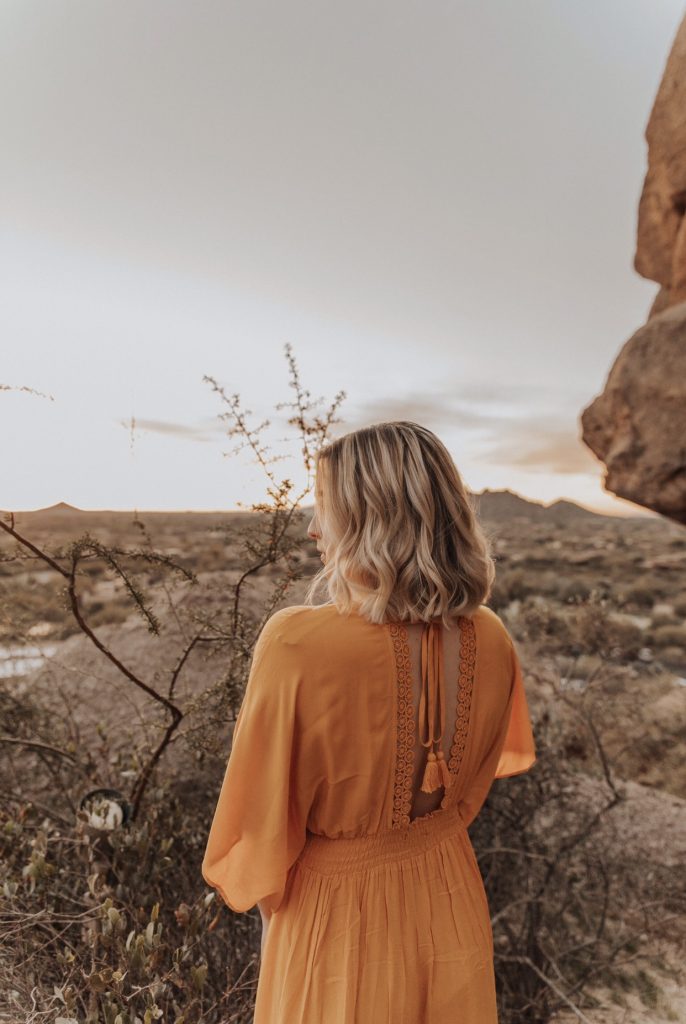
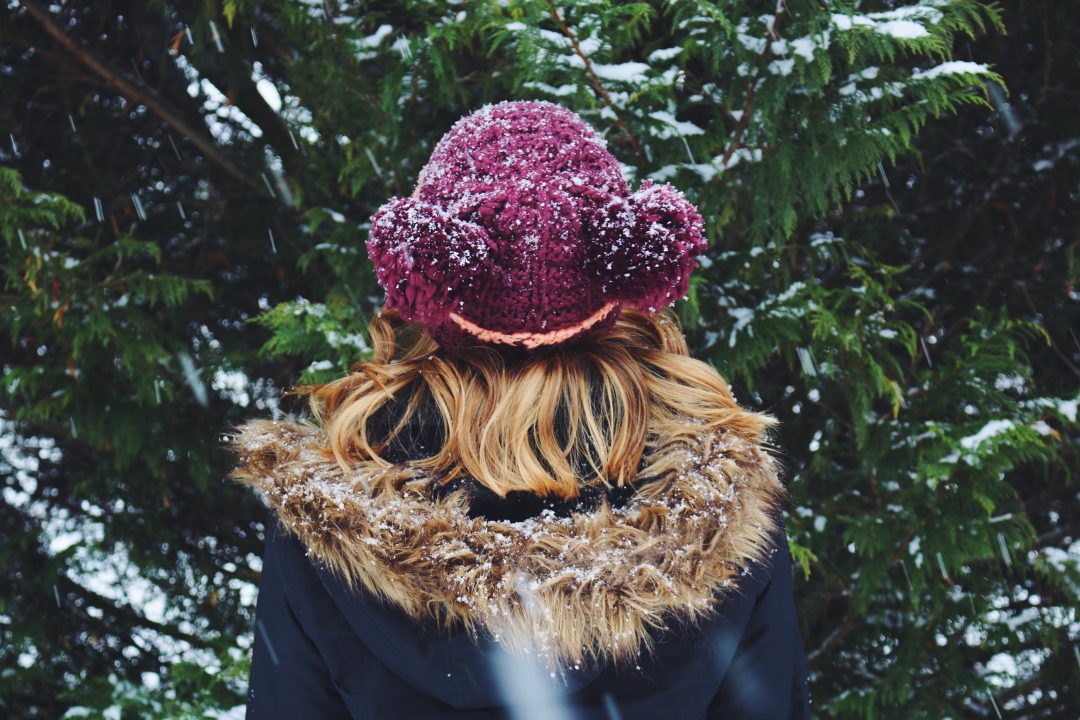
Usually, I try to do both the cut and color during the same week, but this time I had to space them a couple weeks apart.  I actually ended up liking the space, though, because it gave me time to get used to the cut for a week or two before I had to get used to the color change.  It made it an easier transition!  Going into this appointment, I brought along my trusty Pinterest examples and was super excited!  I was going blonder than I ever had before and I couldn’t wait!

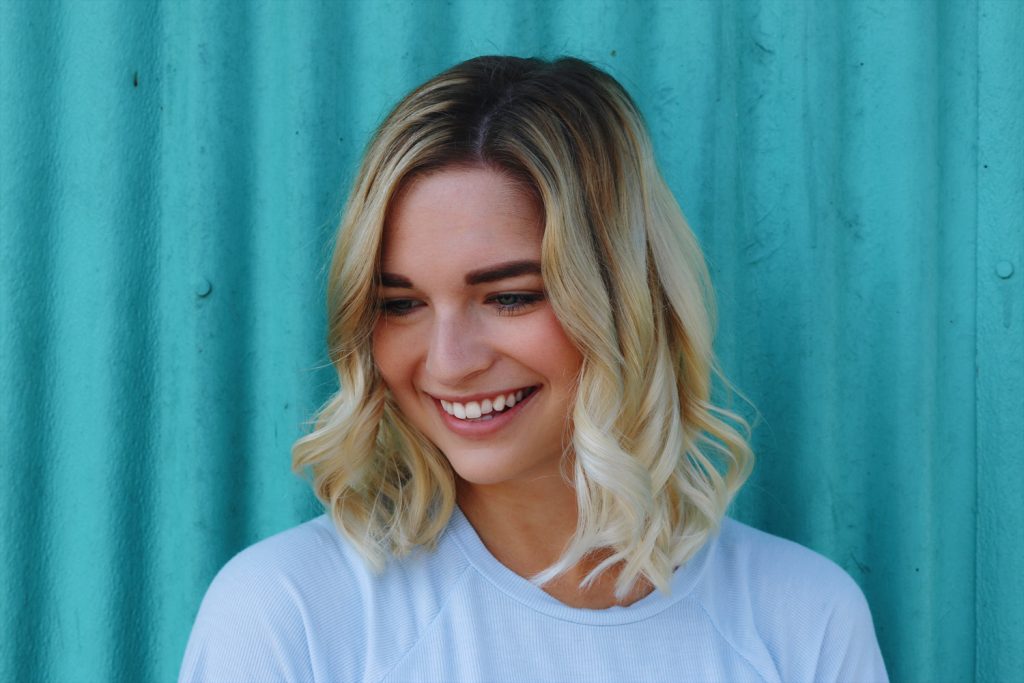
I ended up leaving my appointment with a different look than I thought I’d be leaving with.  It was my first negative color experience!  I had asked for a very bright, blonde balayage with a few face-framing pieces.  Because my natural color is so dark and I was going pretty light towards the bottom, some mistakes were made and I ended up with a horizontal line around my head where the color started.  It was kinda bad.  Luckily, my stylist was incredible and immediately booked me an appointment to come back the following morning to fix it.  Due to the line of color being pretty far up on my hair, the only way to make it look good again was to make me almost totally blonde.  It has definitely taken some getting used to but I’m really happy with it.  It’s fun and different for me!

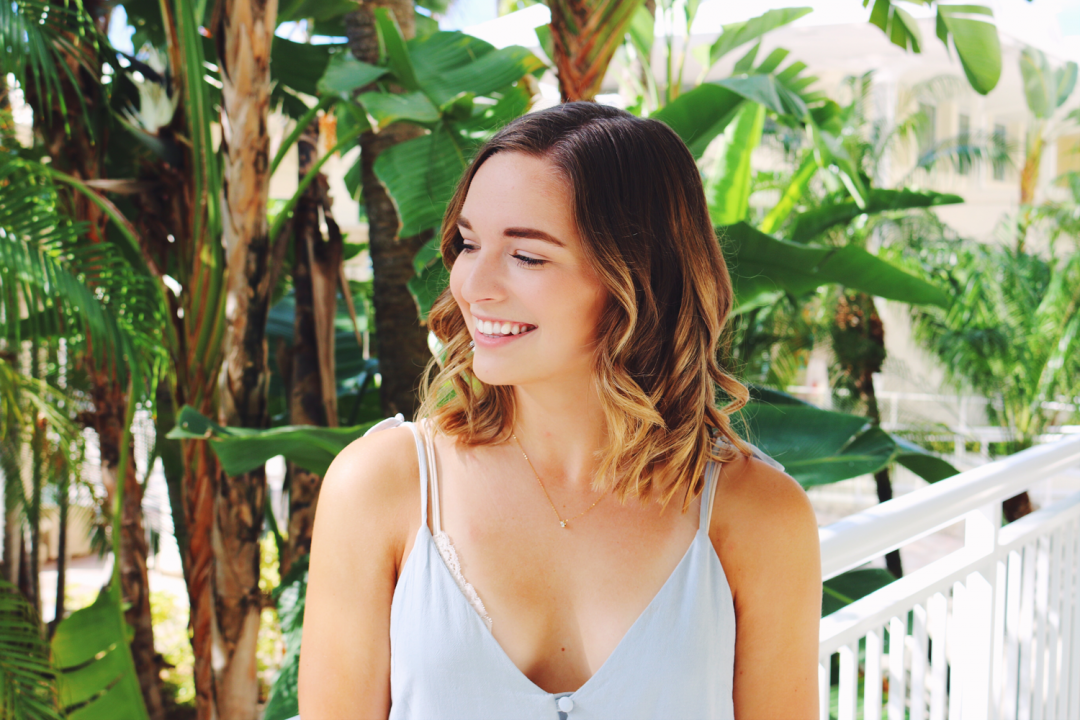
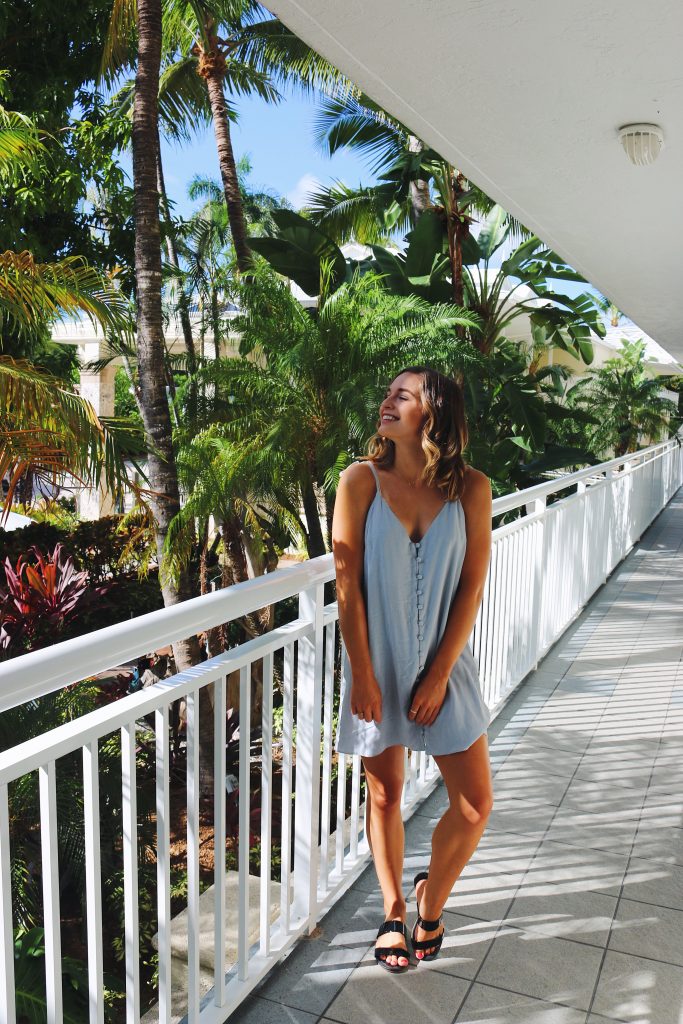
That wraps up today’s post but please let me know in the comments if you’ve tried any new hair trends lately and if you love it or not!  Also, come back next Tuesday for the start of my summer vacation posts.  My family and I visited somewhere tropical a few weeks ago so the palm tree photos will be in full swing!  Have a great week!

Beauty

My Favorite Drugstore Mascaras

June 27, 2017

Hi guys!  I’m glad to see you back on the blog!  A couple months ago, I shared with you that I wanted to start doing more beauty-related blog posts so here I am today to share my favorite mascaras!  I think mascara is an important staple to any makeup routine, whether you go all out or just throw a few products on so let’s get started!

My absolute favorite mascara I’ve ever used is Benefit’s They’re Real! Lengthening mascara.  I wanted to try this for a long, long time before I actually made the purchase because it’s a pretty pricey mascara.  Before this, I had always used inexpensive mascara from the drugstore but I got a free little trial size when I bought a different Benefit product and that’s when I knew I needed to buy the full size as soon as possible.  It’s amazing!  It lengthens and thickens and looks great even when you wear it without eyeshadow or eyeliner.  Totally worth the money!

The next mascara that I’m going to share is Maybelline’s “The Rocket” mascara.  This was the mascara I was using for YEARS before I switched to the Benefit one, and it’s still the one I use when I don’t necessarily have the money to be spending a ton on higher end brands.  The mascara itself is very natural looking and doesn’t smudge but what drew me to this mascara in particular was the wand.  The wand has a lot of little bristles that spread and define your lashes and that makes all the difference!  Before using this mascara, I’d never used a wand like that and it’s incredible!

The last of my favorite mascaras is one from Pixi and it’s called the Lower Lash mascara.  I just came across this product recently and I can’t see myself getting rid of it any time soon!  Putting mascara on your bottom lashes is hard sometimes because the wand is so big and your lashes down there are so small and this mascara is the perfect remedy for that issue.  The wand is tiny so the mascara doesn’t clump and it’s just so cute!  I’d definitely recommend getting this product if you have the same issue I do with applying mascara to your bottom lashes.

I hope these recommendations helped you out if you’re on the hunt for a new mascara.  They’re my absolute favorite and I know you’ll love them too!  Have a great holiday and I’ll see you next Tuesday!

Beauty

I Chopped My Hair

January 10, 2017

Hi everyone and welcome back to Allison in Wonderland!  Today I have some exciting news… I cut my hair!  If you’ve seen photos I’ve posted in other blog posts or on my Instagram, you might remember that my hair was very long and this past week, I cut a lot of it off!

I’ve been thinking about cutting my hair for a while now and I’m so glad I finally did it!  I was a bit nervous going into my appointment because I cut it this short a couple years ago and ended up wishing I hadn’t, so I’m so relieved it turned out well!


Basically, all I got done was I chopped it to my collarbone and then added some long layers to give some dimension.  I never really straighten my hair anymore so I wanted a cut that would look best curled.  By adding the long layers, I think it will make it more bouncy than it would’ve been!  I also lightened it a little bit but I think I’m going to go even lighter when we get closer to the summertime.

If you have any hair suggestions, leave it in the comments.  I’d love to hear what you have in mind!  See you next week!

Beauty

Beauty Babbles: LUSH + November Desktop Wallpapers

November 1, 2016

Hey guys and happy November!  Welcome to the first post in my new series; Beauty Babbles!  I’ve been wanting to dive more into the beauty part of my blog and I can’t wait to hear what you guys think!

In today’s post, I’m going to be focusing on the brand Lush!  I’ve been a Lush fan for a long time now and they’re always coming out with new products, so today, I’m going to share a little bit about a few of my favorites!

As you can see in the photo above, the products I’m going to be zoning in on are the Mask of Magnaminty Face and Body Mask and the Popcorn Lip Scrub.  The Popcorn Lip Scrub is actually a product that’s a repurchase for me!  I first bought it about two years ago and loved it so much that I bought it again at the end of the summer!  This is truly a product that you’ll want all throughout the year.  It’s perfect for when your lips are chapped in the winter AND for when your lips are burnt in the summer!  Not that you would ever wish for either of those things to happen to you, but when it does, it’s nice to be able to treat it with a nice, yummy-scented exfoliant that gives soft, smooth lips!  Before buying this product, I’d never had a lip exfoliator and now I’ll never go back; especially since it’s under $10!  I’d say I use it about once a week and that’s all you need!

Moving on to the next product, the Magnaminty Face and Body Mask is my favorite face mask I’ve ever used!  Made up of china clay and peppermint oil, it really gets deep down into your pores and leaves you with such clean skin!  You also get a nice, cool sensation on your skin while using it, due to the peppermint oil in the ingredients.  Another reason I love it is because of how easy it is to take off!  I’ve tried other face masks where no matter how much water I splash onto my face, it won’t soften up again and then you feel like you’re damaging your skin trying to scratch the mask off with your nails!  This one isn’t like that AT ALL.  As soon as you wet it again, it comes right off and you’re left with squeaky clean skin!

That’s all for the Lush products I’m using right now, but I’m sure I’ll be getting more soon, especially with the holidays right around the corner! 🙂  To round out this post, I’ve collaborated with Candidly Keri to bring you a few beautiful November desktop wallpapers!  Keri has made 4 exclusive ones just for us!  Two of them incorporate my favorite verse, Matthew 28:20, and the other two are super cute and festive November calendar wallpapers.  I will definitely be using these this month and I’d love it if you did too!

unnamed-1

unnamed-2

unnamed-3

unnamed-4

Let me know if you have any Lush favorites and if you’d like to see a post on them.  Also, be sure to check out Keri’s blog if you’re interested; it’s super cool!  Have a great week!

Beauty Fashion

Autumn Makeup Must: A Bold Lip

October 4, 2016

Hello everyone, welcome back to Allison In Wonderland!  I’m so excited to share today’s post with you all!  Today, I’m going to be doing one of my first Fall-themed posts and it’s going to be about one of my absolute favorite trends: a bold lip.  A bold lip has always been something I’ve wanted to get into but never had the guts to do; but this year is going to be the year.  After finding a shade that I loved from a company called Lime Crime, I knew it was time to take the plunge!

img_0996

The shade that I purchased is called Saint and it’s the perfect shade for Fall.  I’m pretty fair skinned, so it stands out against my skin-tone, but I think it would really hold it’s own against any.  It’s also the perfect shade to accompany a cute, Fall outfit!  With it being the color it is, you can easily pair it with neutrals such a black or white, or it could also be paired more seasonal colors like burgundy or forrest green!  It’s so pretty that I really couldn’t imagine a situation where it would look bad!

Processed with VSCO with f2 preset

Just to add on to how much I’m loving this product, the packaging was extremely cute as well, coming in a little red box.  Before getting this product, I had never used a liquid lipstick before and was a little nervous when I went to apply it for the first time.  The application was super easy and it’s a good thing it was because I don’t have a lip liner in this shade to keep it all together!  It’s very pigmented, so I only needed one swipe across and I already had the color in the image above!  I was quite happy with that because sometimes you don’t always get the color that’s advertised on the package.  It actually dried relatively quickly too, so I didn’t have any problems with it smudging after I was done putting it on.


img_0995

I’m so excited I have a go-to bold lip color to use now!  If you want to learn more about this brand, head over to Lime Crime’s Tumblr page. They’re vegan and cruelty free so you won’t have any guilt about your purchase!  I love to hear from you guys so be sure to leave your recommendations in the comments if you have another great Fall shade that I should check out.  Thanks for reading and see ya next week!

Beauty

Birthday Haul

September 20, 2016

Hey everyone and thanks for coming back to read another post on Allison In Wonderland!  Today’s post is going to be all about a few things that I got for my 20th birthday!  If you missed out on last week’s birthday post, make sure to check it out here!  I hope you enjoy!

Processed with VSCO with f2 preset

For my birthday this year, I received some makeup items that I’ve been wanting for a while!  These products are very random but I already know they’re going to be staples in my everyday makeup routine.  Starting off with primer, I got Benefit’s the POREfessional.  This product is perfect for applying under your concealer or foundation to make your pores look like they don’t exist!  Moving on, the next product I got was the Naked 2 Basics palette.  I’ve had the first Naked Basics palette for about two years now and I have completely worn it out.  I’m someone who wears mostly neutral makeup, so these kinds of palettes are absolutely perfect for me!  The next item is my Smashbox bronzer in Deep Matte.  I think this is the product I’m most excited for!  I’ve had such a hard time finding a bronzer that goes well with my skin tone (and doesn’t look to orange-y) that I’d almost given up, so I’m so thankful I found this one!  It’s the perfect mix of warm and bold and it’s very build-able!  The last makeup product I have to share is my Urban Decay de-slick setting spray!  This is definitely a product I’ve been needing because sometimes I have my makeup on for 14 hours at a time and by the end of the day, it’s not looking so good anymore.  I’m excited to see how much this will help!

Processed with VSCO with f2 preset

The next item I got for my birthday is a black, foldover, crossbody bag.  It’s from Nordstrom and it can hold SO MANY THINGS.  I was looking for a bag that was a little bigger than the one I already have but not so big that it was overwhelming and this is my perfect solution.  Since it folds over, if you need to take a planner or notebook with you, you can just flip it up and carry it like that; it’s awesome!

Processed with VSCO with f2 preset

The last item on my list to share is this incredible-smelling candle.  I believe it was purchased from Target and it has completely taken over my bedroom.  I’ve used up so much of it already and I’ve only had it for a week!  I definitely recommend going out and getting one if you’re a fan of lavender and thyme.

That’s all for my birthday haul, thanks for reading!  Make sure to come back next week for another fun post.  Have a great week!