Browsing Category

How To

College How To

How To: Plan a Formal Event in College

April 12, 2016

Welcome back!  Today’s post is going to be all about planning a formal event when you’re in college, whether it be for a sorority or fraternity or campus club!  Over the course of this semester, I have been a part of planning my sorority’s spring Formal, and I’m going to share the steps we went through to make it the best it could be!

The first thing my committee and I needed to decide was the location.  In the past, my sorority has had our Formal at churches (we’re a Christian sorority), at banquet halls, many different places!  Since our budget this year was very small, we wanted to keep it on campus since booking a banquet room in a James Madison building (for a student) is free.  After deciding this, we could go forward with planning the theme!

We discussed a lot of different themes but eventually decided on a carnival theme!  Usually Formal is more, ya know, formal, but we wanted to make it more interactive this time around.  We didn’t have a lot of money given to our committee to throw the event, so we got most of our decorations from Hobby Lobby, Michaels, and Dollar General!  Fortunately for us, most of the places we went had actual sections set aside for carnival parties!!

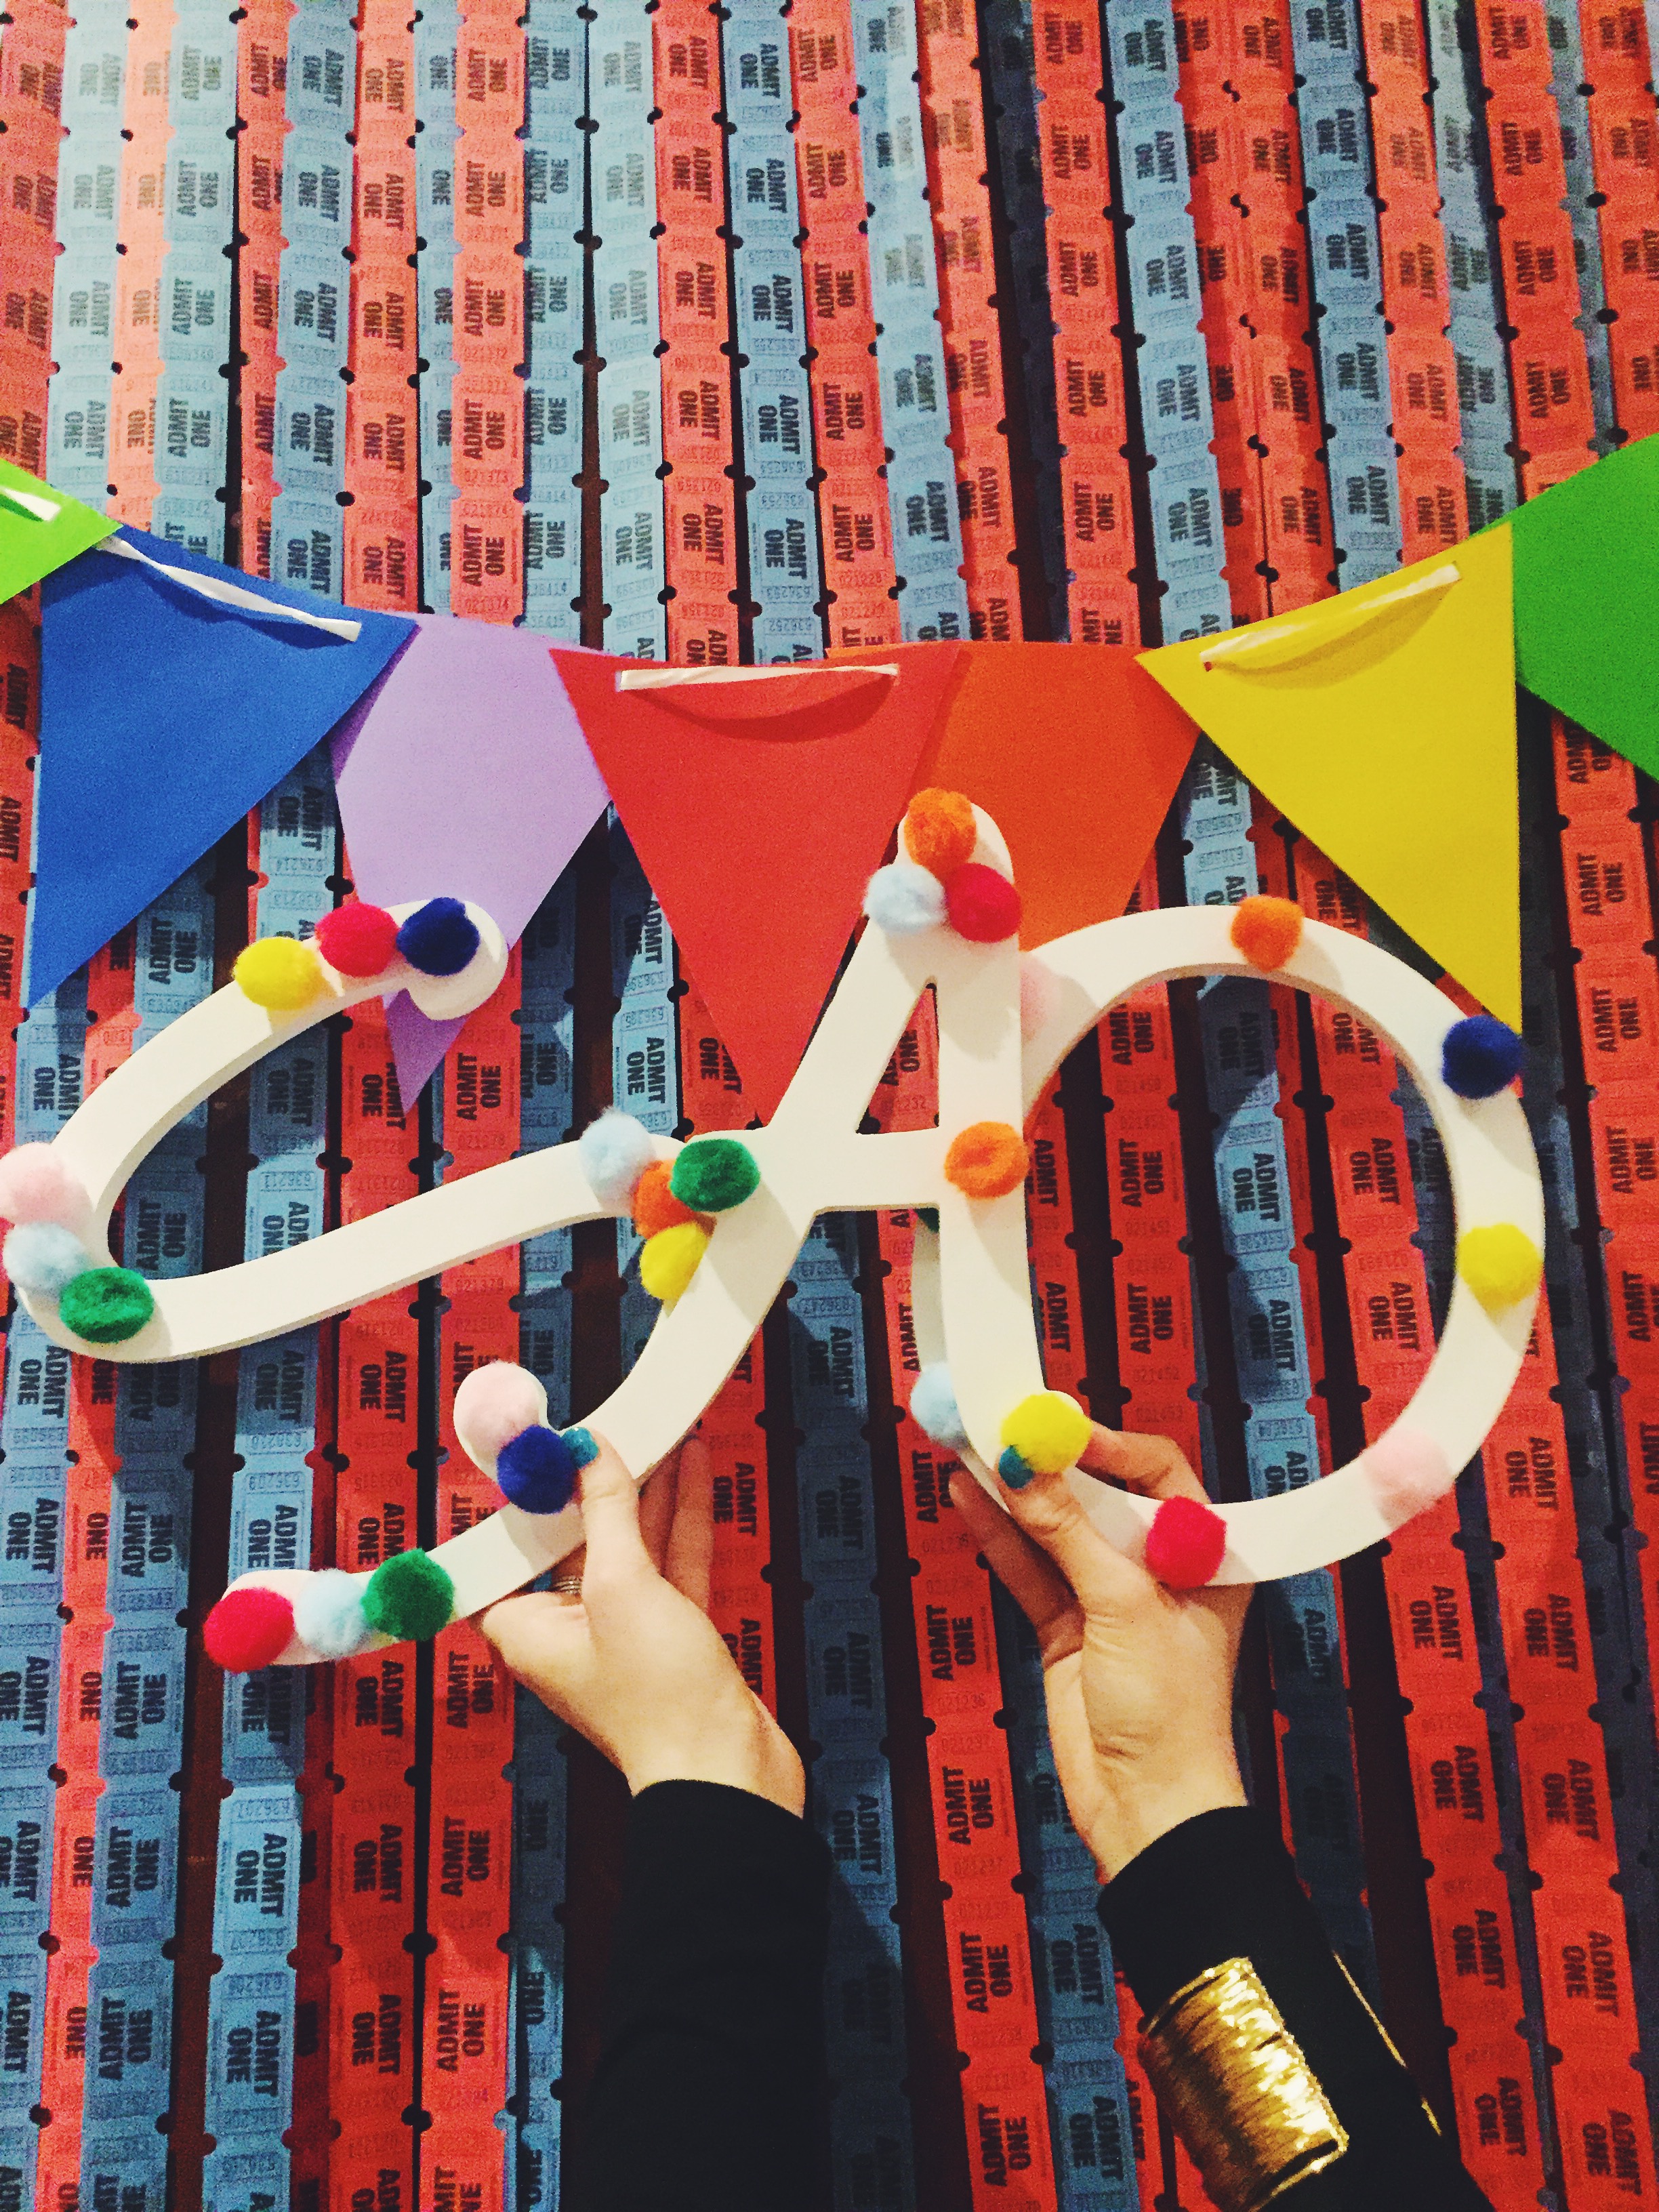
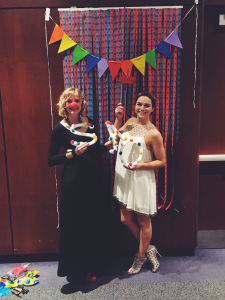
We decided the main things we wanted to have were games and a space designated for pictures.  For games, we bought supplies for a can toss, corn hole, and a balloon pop – all typical things you would see at a carnival!  None of these were difficult to put together and they ended up being so, so fun.  For the balloon pop, we filled each balloon with confetti so, when it was popped, confetti burst out!  As far as the photo space, we bought two big rolls of red and blue carnival tickets and hung strips of 40 tickets to make a backdrop.  After that, we hung a multi-colored banner on top to add some more color!  We included props, such as clown noses and a boa, on the side so everyone could get some silly pictures too!

Processed with VSCO with f2 preset

Our photo backdrop with some of our props we made!

IMG_8346

Of course, we had more things like balloons and a popcorn stand and jolly rancher center pieces (for the tables) but those were the main decorations that made up our party!  Even though it was stressful envisioning everything, we had a blast putting this together.  I hope this post helped with your future party planning and I’ll talk to you next week!


How To

How To: Use a Planner

March 29, 2016

Hi everyone!  In today’s post I’m going to be talking all about my planner!  In college, I wouldn’t survive a day without it.  With being involved with multiple campus organizations and keeping up with classes and my social life, my planner helps me stay on top of everything! When first starting out with your planner, it’s easy to get overwhelmed, so I’m here to help you sort it out!

You can begin with whichever planner you want/have, all of them pretty much maintain the same, basic layout.  The planner I currently use is the Lilly Pulitzer, medium sized, 17 month agenda.  I love this one in particular because it’s compact but also pattered and colorful, which is a lot more exciting to look at than a white piece of paper!  This planner includes monthly calendars and day-by-day spaces to write your daily schedule in… I use both!

Processed with VSCO with f2 preset

In the monthly calendar sections, I jot down when I have tests, meetings, presentations, and other events that I know about in advance.  This is a good way to be able to know your availability at a glance and also to be prepared for your upcoming tests and projects.  Before coming to college, I under-estimated how busy I would be and how easy it would be to forget things.  Once I started consistently using a planner and was then able to lay out my month, day-by-day, it got a lot easier!  It’s also nice to be able to whip it out when people ask when you’re available to meet for coffee or for a group project!

I use the day-by-day spots to write my homework down for each class.  This is what works best for me because, this way, I know what day I was assigned each assignment and it helps me break up my time accordingly.  At the end of the day, it’s easy to look back at the day’s classes and see what needs to be done first and what can maybe wait until the next day!

Processed with VSCO with f2 preset

This section allows more than enough room to write down your work for all of your classes!

Overall, a planner is a very useful tool to help out any college student and can really help your stress levels if you’re the kind of person who stresses about everything, like me!  I hope you enjoyed this post and gained some useful tips for beginning your planning adventure!  Make sure you check back next Tuesday for a brand new post! 🙂

How To

How To: Create a Successful Instagram Theme

March 8, 2016

One of the things that has constantly been on the minds of millennials the past few months is, without a doubt, their Instagram theme!  Whether it be as extreme as only posting white-based photos or something more relaxed like using the same filter for your photos, people have been trying very hard to achieve, what they consider to be, the theme of all themes.  I’m here to help you achieve that!

There are a few approaches I’ve thought of to go about choosing a theme for your Instagram.  I will explain them in further detail below, but basically the three ways are: 1) choose a main color to include in all your photos, 2) use the same filter on every photo, and 3) post pictures of similar things.  Keep reading to find out more about each one and how I keep up my theme!

Choosing one color:

This method can be as easy or as hard as you want it to be.  Starting out, I recommend choosing a color scheme instead of a specific color, such as neutrals or bright colors.  You can decide what’s best for your Instagram by thinking about different things such as where you live.  If you live in a climate that’s always warm, a bright colored theme might be just what you need because it would be easy for you to capture the natural color saturation!  If you want to go for one specific color, you have to be very diligent in keeping your eye out for everything that could make a good picture!  It might be hard to keep up a single colored Instagram, but after a while, you’ll get the hang of it!  One of my favorite people who nails this method is Meghan Rienks.  Check out her Instagram at @meghanrienks to see a beautiful, mostly white feed!

Using the same filter:

This is a relatively easy way to keep your Instagram feed looking good!  Any popular iPhone app will do the trick without much effort on your part.  My favorites are VSCO and Afterlight!  Both of these apps allow you to change the contrast, saturation, sharpness, etc.  If you edit every photo basically the same way, your feed will look like you had consistent, perfect lighting for every photo!  This will create a very fluid and cohesive feed and you can make almost any photo work!  This is the method I use, so check out the section below, titled “What I do,” to find out more!

Taking pictures of similar things:

This one requires a little more dedication.  Your topic could be anything from food to makeup to taking pictures of cities.  Whatever you chose is fine, but stick with it!  You will gain followers based on whatever your topic is and they’ll be loyal to you because you’re posting what they’re interested in!  Be sure to pick a topic you are able to keep up with.  This is a very flexible option so have fun with it!  A perfect example of this method is Erin Stamper (@erriiinns on Instagram).  She maintains a beachy, aquatic theme and I’m always on the look out for her photos!

What I do:

For my Instagram theme, found at @allisantmyer on Instagram and also linked in the sidebar, I use the technique of using same filter for all (or most) of my pictures.  I’ve been using the app called VSCO for years and am still in love with it today.  I usually apply the F2 or T1 filters, as well as kicking up the contrast and saturation a bit.  There are a couple photos where I have strayed from that but, for the most part, this is my go-to.  I believe that it’s helped me create a very dynamic looking feed!


Thanks for reading this post and good luck with your Instagram theme!  It’s gonna look great!